
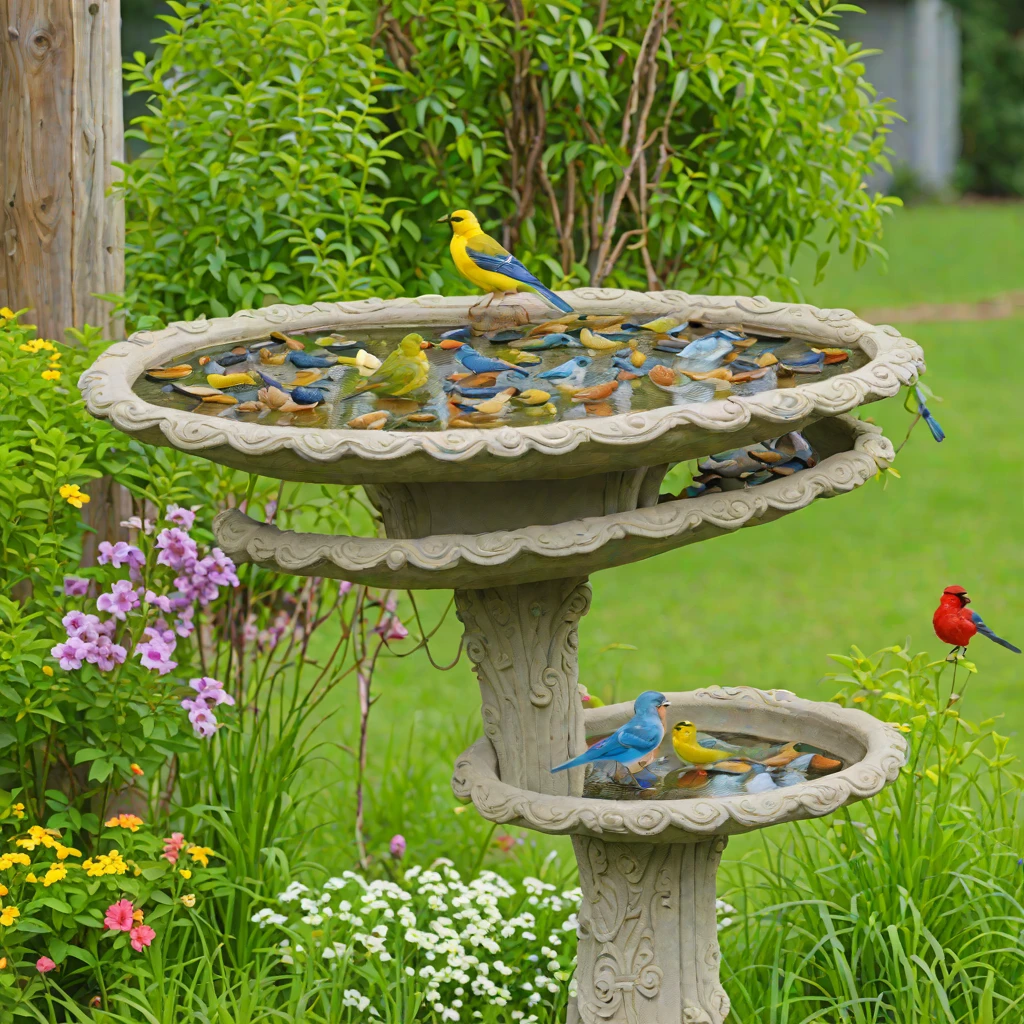
Welcome, fellow garden enthusiasts and DIY adventurers! There’s a special kind of magic that unfolds when you invite nature right into your backyard, and few things do it as beautifully and effectively as a bird bath. More than just a simple water source, a well-placed bird bath transforms your outdoor space into a vibrant wildlife sanctuary, offering a refreshing drink and a playful splash zone for feathered friends while adding undeniable charm to your landscape.
You might think installing a bird bath requires a significant investment or complicated construction, but I’m here to tell you that’s simply not true. As an expert in outdoor design and hands-on projects, I’ve seen countless creative ways to craft a stunning and functional bird bath using materials you might already have or can find affordably. This guide is dedicated to showing you 13 incredible DIY bird bath ideas that cater to every budget, from nearly free upcycled wonders to more involved projects that still save you a bundle compared to store-bought options.
So, grab your gardening gloves and let’s dive into making your garden a haven for local songbirds!
Why a Bird Bath Matters (Beyond Just Water)
Before we explore the how-to, let’s briefly touch on the profound impact a bird bath has. During dry spells, clean, fresh water can be even more vital than food for birds. Providing a reliable water source helps them stay hydrated and preen their feathers, which is crucial for insulation and flight. Beyond the ecological benefits, a bird bath also:
- Enhances Garden Aesthetics: A beautifully designed bird bath becomes a focal point, adding visual interest and a sense of tranquility.
- Attracts Diverse Wildlife: Beyond birds, you might also spot butterflies, bees, and other small creatures stopping by for a drink.
- Provides Entertainment: Watching birds splash and play is a delightful, stress-reducing activity right from your window or patio.
- Is Eco-Friendly: Using repurposed materials reduces waste and gives new life to forgotten items.
Essential Considerations Before You Start Your DIY Bird Bath
Before you commit to a specific design, a few foundational principles will ensure your DIY bird bath is a success for both you and your winged visitors:
- Depth Matters: Birds prefer shallow water, generally no more than 1-2 inches deep at the center, sloping gently to the edges. You can add stones or gravel for perching spots if your basin is too deep.
- Placement is Key: Choose a spot that’s visible from your home but also offers nearby shelter (like a shrub or tree) where birds can retreat if startled. Ensure it’s not too close to dense foliage where predators might hide.
- Materials: Opt for non-toxic, durable materials that won’t leach chemicals into the water. Ceramic, glass, concrete, and unpainted metal are excellent choices. Avoid plastics that might degrade quickly in sunlight.
- Stability: Whatever your design, ensure it’s sturdy and won’t tip over easily, especially in wind or if larger birds land on it.
- Cleaning: Easy access for regular cleaning is crucial. Algae and debris can accumulate quickly, so plan for a weekly refresh.
13 DIY Bird Bath Ideas for Every Budget
Now, let’s get to the fun part: creating your very own backyard oasis!
1. The Classic Terra Cotta Pot and Saucer Bird Bath
This is arguably the most popular and easiest DIY bird bath, perfect for beginners.
- Budget Level: Very Low Cost
- Materials: One large terra cotta pot, one large terra cotta saucer, strong exterior adhesive or silicone sealant.
- How-To: Invert the pot to create a pedestal. Apply a generous bead of exterior-grade adhesive or silicone sealant around the rim of the inverted pot. Carefully center the terra cotta saucer on top, pressing down firmly. Let it cure completely according to the adhesive instructions before adding water.
- Expert Tip: For extra stability, fill the pot with sand or small pebbles before sealing the saucer on top. This adds weight and makes it more wind-resistant.
2. Repurposed Platter or Bowl Bird Bath
Look no further than your kitchen cabinets or local thrift store for this elegant solution.
- Budget Level: Almost Free
- Materials: A shallow, wide ceramic platter or glass bowl (ensure it’s not too deep), a sturdy base like a tree stump, an old bird bath pedestal, or even stacked bricks.
- How-To: Simply place your chosen platter or bowl on your stable base. If using a pedestal, you might use a dab of silicone to secure the platter in place. Ensure the base is level so the water doesn’t spill.
- Expert Tip: For a more cohesive look, paint stacked concrete pavers or bricks with a weather-resistant outdoor paint before using them as a base.
3. Upcycled Tire Bird Bath
Give an old tire new life as a surprisingly chic bird bath that’s durable and unique.
- Budget Level: Very Low Cost
- Materials: One old tire, heavy-duty pond liner or a shallow plastic basin that fits inside, exterior-grade spray paint (optional), gravel or stones.
- How-To: Clean the tire thoroughly. If desired, paint the tire an attractive color with exterior spray paint. Once dry, place the tire in its desired location. Line the inside of the tire with the pond liner, or place your plastic basin inside. Fill the liner/basin with a thin layer of gravel before adding water to create shallow zones.
- Expert Tip: Bury half the tire underground for extra stability and a lower profile, which can make it more accessible for ground-feeding birds.
4. Concrete Leaf Bird Bath
Create a beautiful, organic-looking bird bath using large leaves from your garden.
- Budget Level: Low Cost
- Materials: Large, sturdy leaves (like rhubarb, hosta, or burdock), quick-setting concrete mix, sand, plastic sheeting, a trowel, a large bucket, work gloves.
- How-To: Lay a piece of plastic sheeting on a flat surface. Spread a thin layer of sand on the sheeting to create a slight dome shape. Place your chosen leaf vein-side up on the sand mound. Mix the concrete according to package directions, aiming for a consistency like thick oatmeal. Carefully spread the concrete over the leaf, ensuring an even layer and shaping the edges. Let it cure for at least 24-48 hours. Once dry, carefully peel the leaf away.
- Expert Tip: Use a concrete sealant after it’s fully cured to protect the finish and prevent water absorption, making it more durable and easier to clean.
5. Stacked Stone Bird Bath: Rustic Charm
Embrace natural aesthetics with a truly organic, custom bird bath.
- Budget Level: Very Low Cost (depending on stone source)
- Materials: A selection of flat, sturdy river stones or landscape rocks, strong construction adhesive or cement mortar, a shallow bowl or larger flat stone for the basin.
- How-To: Start with a wide, flat base stone. Begin stacking smaller stones, using construction adhesive between each layer to secure them, building a stable pedestal. Create a slight recess at the top if using a separate bowl, or ensure the top stone is large and flat enough to serve as the basin itself. Seal any porous stones if they will hold water directly.
- Expert Tip: When choosing stones, look for ones with natural variations in size and shape to create a visually interesting, organic sculpture. Test stability as you build.
6. Mosaic Tile Bird Bath: Artistic Flair
Transform a plain basin into a vibrant work of art that catches the sunlight.
- Budget Level: Mid-Range
- Materials: A shallow, existing bird bath basin or a sturdy plastic/concrete bowl, mosaic tiles (broken ceramic, glass gems, old plates), tile adhesive, grout, grout float, sponge, safety glasses.
- How-To: Clean your basin thoroughly. Using tile adhesive, arrange and attach your mosaic pieces to the inside and rim of the basin. Leave small gaps for grout. Once the adhesive is dry, apply grout over the tiles, pressing it into the gaps with a grout float. Wipe away excess grout with a damp sponge before it fully sets.
- Expert Tip: Use only non-porous tiles and ensure the grout is outdoor-rated and sealed to prevent water absorption and cracking in freezing temperatures.
7. Garden Stake Bird Bath: Modern & Minimalist
Perfect for contemporary gardens, this design offers sleek lines and easy installation.
- Budget Level: Low to Mid-Range
- Materials: A tall, sturdy metal garden stake (e.g., rebar, shepherd’s hook, or specialty stake with a dish holder), a shallow metal or ceramic bowl with a flat bottom.
- How-To: Drive the garden stake securely into the ground in your chosen location. Place the shallow bowl on top of the stake. Some stakes come with built-in rings or platforms for dishes; otherwise, ensure the bowl balances perfectly or use a strong adhesive to secure it.
- Expert Tip: Opt for a stake with a decorative top or finial for added visual interest. If using a simple rebar, consider painting it with a rust-resistant outdoor paint.
8. Wobbly Pot Bird Bath (Stacked & Tilted)
A playful and whimsical approach to stacking pots, creating a unique focal point.
- Budget Level: Low Cost
- Materials: Several graduated sizes of terra cotta pots (at least three), a shallow saucer for the top, construction adhesive, rebar (optional for stability).
- How-To: Start with your largest pot as the base. Invert the next size up and glue it off-center on the base. Continue stacking and gluing pots, each one slightly tilted in a different direction, creating a “wobbly” tower. Ensure each connection is secure with construction adhesive. Place the saucer on the very top, gluing it in place.
- Expert Tip: For extra security, especially with taller stacks, drive a piece of rebar through the drainage holes of the pots and into the ground before gluing. This acts as a central stabilizing rod.
9. Solar Powered Fountain Bird Bath
Add the soothing sound of moving water and keep mosquitoes at bay with a gentle fountain.
- Budget Level: Mid-Range
- Materials: An existing shallow bird bath basin or large bowl, a small solar-powered fountain pump kit, stones or pebbles.
- How-To: Clean your chosen basin. Place the solar pump in the center of the basin, ensuring the solar panel is exposed to direct sunlight. Arrange some stones or pebbles around the pump to conceal it and provide perching spots for birds. Fill the basin with water, making sure the pump is submerged.
- Expert Tip: Choose a pump kit with different nozzle attachments to vary the water spray. Moving water not only attracts more birds but also helps to prevent mosquito larvae from developing.
10. Whiskey Barrel Lid Bird Bath: Rustic Elegance
Integrate a classic garden element into a functional bird bath.
- Budget Level: Low to Mid-Range
- Materials: A genuine whiskey barrel lid (or a round wooden board cut to size), weather-resistant wood sealant, a sturdy base (like a section of a barrel, a stone pillar, or sturdy posts), screws or strong adhesive.
- How-To: If using a raw lid, clean it thoroughly and apply several coats of weather-resistant wood sealant, especially to the top surface that will hold water. Secure the lid to your chosen base using screws from underneath or a strong exterior adhesive. Ensure the lid is level.
- Expert Tip: For an even more rustic look, you can carve a shallow depression into the lid’s center if it’s thick enough, or simply use the slight natural curve of the lid to hold water.
11. DIY Pedestal Bird Bath (Concrete or Wood Post)
A more substantial, permanent option that offers classic appeal.
- Budget Level: Mid-Range
- Materials: One large concrete paver for the base, a concrete pier block or a thick treated wooden post for the pedestal, a shallow concrete/ceramic basin, strong construction adhesive or concrete mix.
- How-To: Dig a shallow trench and set the paver for a stable base. If using a pier block, center it on the paver. If using a wood post, secure it upright to the paver using brackets or by embedding it partially in concrete. Attach the basin to the top of the pedestal using a heavy-duty construction adhesive, ensuring it’s level.
- Expert Tip: For a personalized touch, consider staining or painting the wooden post or applying a textured finish to the concrete pedestal before attaching the basin.
12. Hanging Bird Bath: Elevated Appeal
Keep predators at bay and add vertical interest to your garden with a suspended bird bath.
- Budget Level: Low to Mid-Range
- Materials: A shallow, wide metal or ceramic bowl, sturdy chains or rope (natural fiber for macrame), a drill, S-hooks, a strong overhead support (tree branch, pergola).
- How-To: Drill 3-4 evenly spaced holes around the rim of your bowl (if it doesn’t already have them). Cut your chains/ropes to equal length. Attach one end of each chain/rope through the holes in the bowl. Gather the other ends and secure them to a single S-hook. Hang the bird bath from a strong tree branch or pergola beam.
- Expert Tip: For a more artistic look, create a macrame hanger for your bowl. Just ensure the knots are tight and the material is weather-resistant.
13. Natural Log Slice Bird Bath
This idea creates an authentic, forest-like feel in your backyard.
- Budget Level: Mid-Range (if buying a large log slice)
- Materials: A large, thick log slice (at least 3-4 inches thick, 12+ inches diameter), a shallow drill bit or router, wood sealant (food-grade if possible), a stable base (small log sections, metal legs).
- How-To: Carefully carve out a shallow depression (approx. 1-1.5 inches deep) in the center of the log slice using a router or wide drill bit. Sand the depression smooth. Apply several coats of a durable, weather-resistant wood sealant, paying extra attention to the carved area to prevent water from soaking into the wood. Secure the log slice on a stable base.
- Expert Tip: Choose a log slice from a rot-resistant wood like cedar or redwood for maximum longevity. You can also embed a shallow metal dish into the carved area for easier cleaning and better water retention.
Maintaining Your DIY Bird Bath
No matter which DIY bird bath idea you choose, proper maintenance is crucial for the health of your bird visitors. Aim to:
- Clean Regularly: Scrub the basin with a stiff brush every 2-3 days, especially in warm weather, to remove algae, debris, and prevent mosquito larvae. Use a mild bleach solution (1 part bleach to 9 parts water) periodically for deep cleaning, rinsing thoroughly before refilling.
- Refill Frequently: Keep the water fresh and full, especially on hot days.
- Winter Care: In freezing climates, either remove the bird bath or use a specific bird bath heater to prevent ice formation and potential damage to your basin.
Choosing the Right Spot for Your Bird Bath
Your bird bath’s location impacts its success. Here’s how to choose wisely:
- Safety First: Place it within 10-15 feet of dense shrubs or trees. This provides escape cover for birds from predators like cats or hawks.
- Visibility: Position it where you can easily see and enjoy the birds from a window or patio.
- Accessibility: Ensure it’s easy for you to reach for regular cleaning and refilling.
- Sun and Shade: A mix is ideal. Some morning sun is fine, but too much direct afternoon sun can quickly evaporate water and promote algae growth.
Crafting a DIY bird bath is a truly rewarding project. It’s a chance to exercise your creativity, repurpose materials, and make a tangible difference for the wildlife in your area. Each of these 13 DIY bird bath ideas offers a unique opportunity to add a personal touch to your garden, creating a beautiful and functional feature that will bring joy to both you and your feathered neighbors for years to come.
So, which project will you tackle first? Whichever you choose, enjoy the process, and get ready to welcome a lively new dimension to your outdoor space!


No Comments